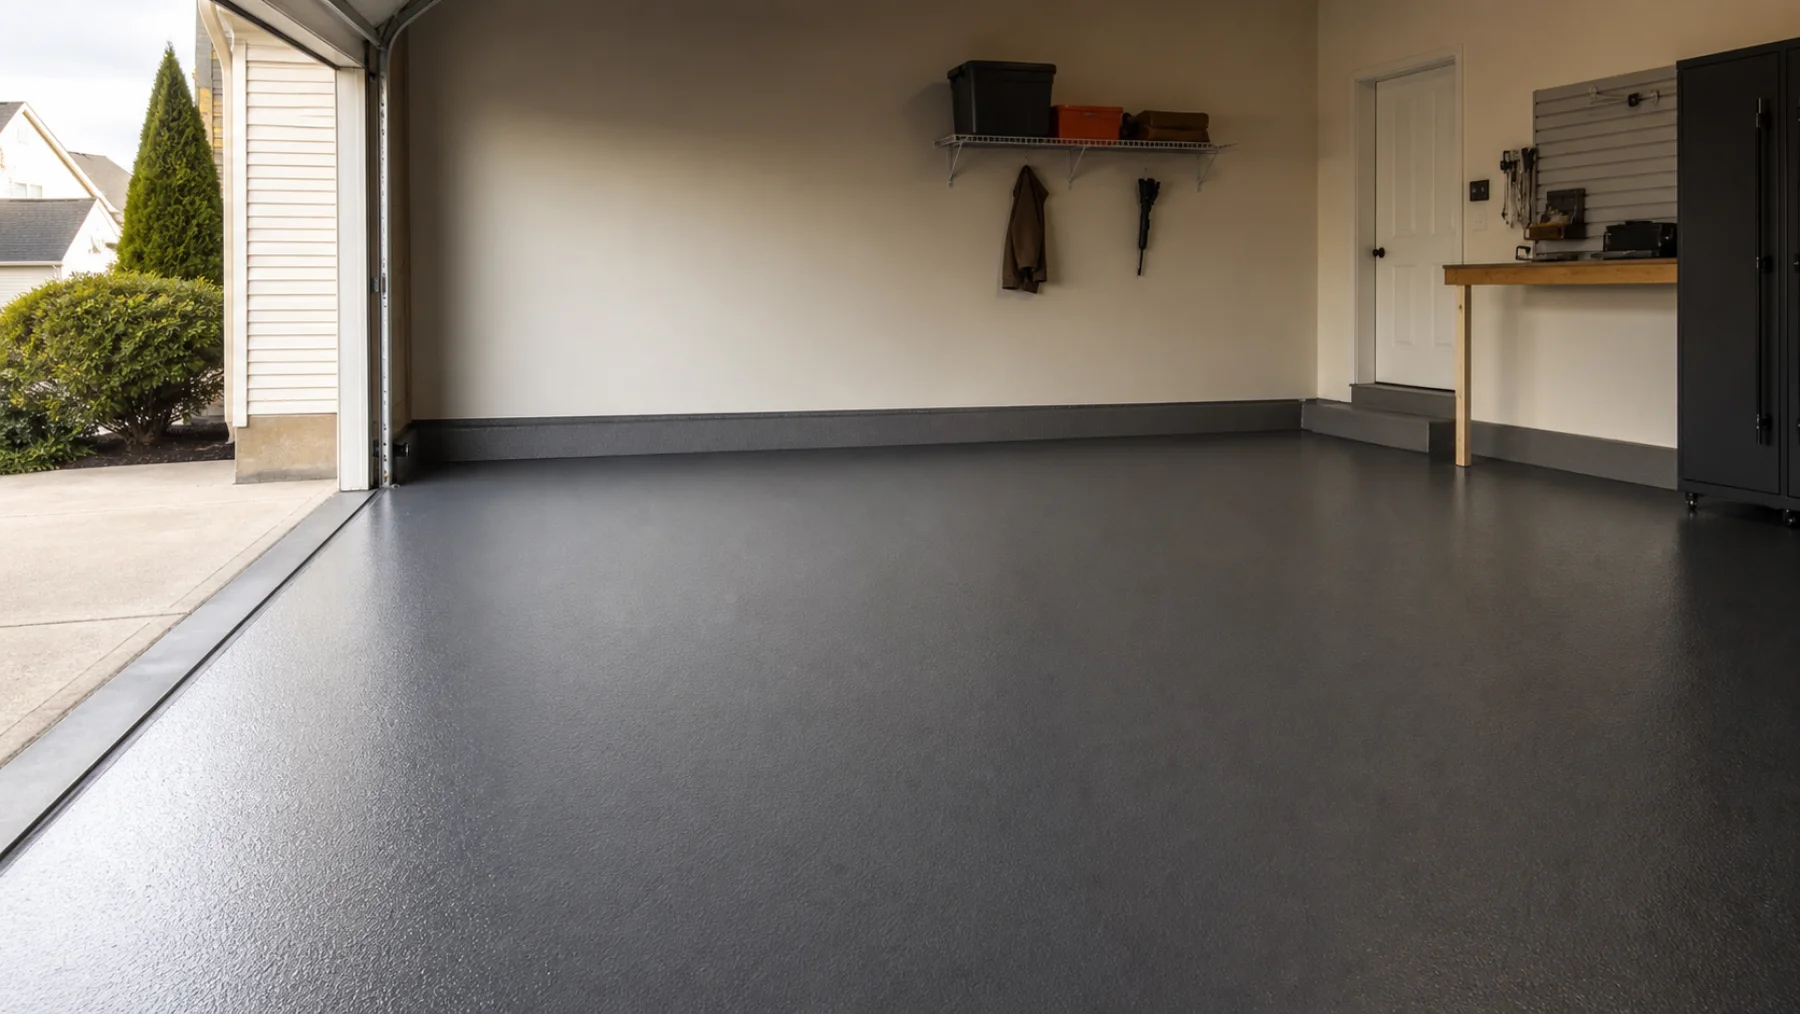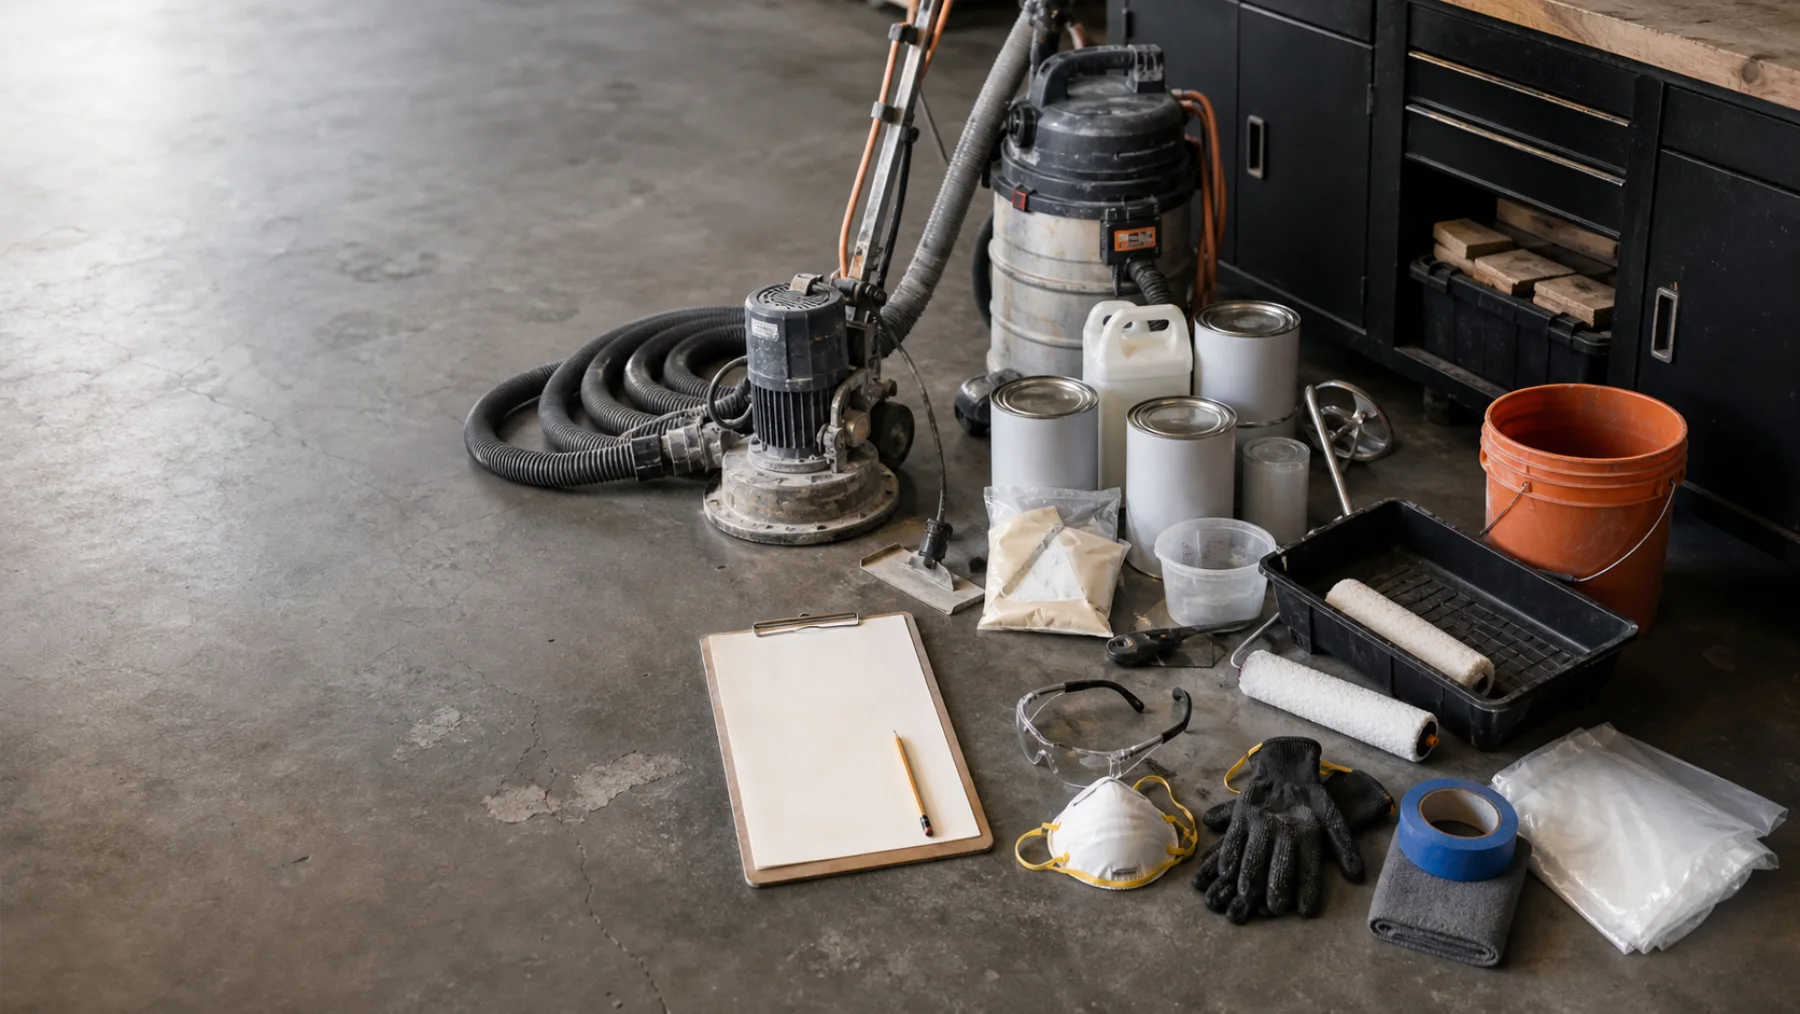
Material price is only one line. Mechanical prep, repair, extra coverage, safety gear, and a compatible topcoat determine the real DIY cost; contractor quotes must specify the same scope before price is meaningful.
Build the budget from the slab up
Measure usable square footage rather than relying on “one-car” or “two-car” labels. Add the stem walls or apron only if they will be coated. Then price moisture testing, degreasing, grinding, dust control, crack repair, coating, broadcast material, topcoat, rollers, PPE, and disposal.
The cost calculator uses coverage and waste rather than a national average because product architecture and slab condition dominate the result.
- Fixed costs: grinder, vacuum, respirator, moisture test.
- Area costs: primer, basecoat, flake, clear, repair material.
- Risk reserve: extra roller covers, mixing buckets, and 10–15% material waste.
DIY cost versus installed price
A professional bid buys labor, equipment, schedule control, and some warranty allocation—not just resin. Compare the written substrate test, prep profile, named products, number of coats, broadcast rate, cure schedule, and exclusions. A cheaper quote that says only “epoxy garage floor” is not comparable.
If downtime has a real cost or the system has a short pot life, include that risk. Saving on labor is irrational if a failed bond means grinding the entire floor again.
What changes the estimate most
Weak or contaminated concrete, high moisture, extensive cracks, full-broadcast flake, a premium UV-stable topcoat, and small fragmented work areas increase cost. A clean rectangular slab with controlled conditions reduces it. Use ranges until the slab is inspected.